A Guide To Applying Paint Protection Film (PPF) On Your Vehicle
MATERIALS NEEDED
To start, gather the necessary materials:
- Paint Protection Film (make sure it is designed for automotive use)
- Cleaning supplies (microfiber cloth, car soap, alcohol wipes)
- Squeegee or hard card
- Heat gun
- A sharp utility knife
THE PPF INSTALLATION PROCEDURE
Applying PPF isn’t rocket science but requires patience and precision. Here’s a step-by-step guide on applying Spray-On Paint Protection Film:
Clean Your Vehicle
Make sure your car is clean and dry before starting the application. The slightest trace of dirt or dust can cause imperfections in the film, affecting the overall appearance of your car.
Prepare The PPF Solution
Mix the PPF solution as per the instructions in the container. The solution helps the film adhere to the car’s surface and provides a professional application look.
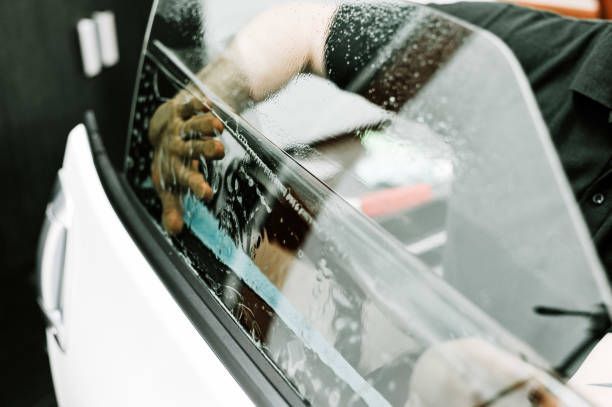
Apply The Film
Start by applying the film to a small area and then move to larger sections. Use a squeegee to smooth out any air bubbles and wrinkles as you go along. Taking your time and ensuring a flat, even application is crucial.
Trim The Excess
Once the film is applied, trim the excess from the edges using a sharp blade. Precision is key to avoid creating uneven lines or damaging the film.
Allow For Drying Time
After trimming, allow the film to dry completely (in an indoor environment) before moving your vehicle. Depending on environmental conditions, this can take anywhere from 24-48 hours.